Easy DIY Projects: Pearl Lariat Necklace
This post may contain affiliate links, which means I may receive a small commission, at no cost to you, if you make a purchase.
If you’re new to crafting, jewelry making can be downright intimidating. Luckily, even the most basic techniques can yield awesome, wearable results – we promise!
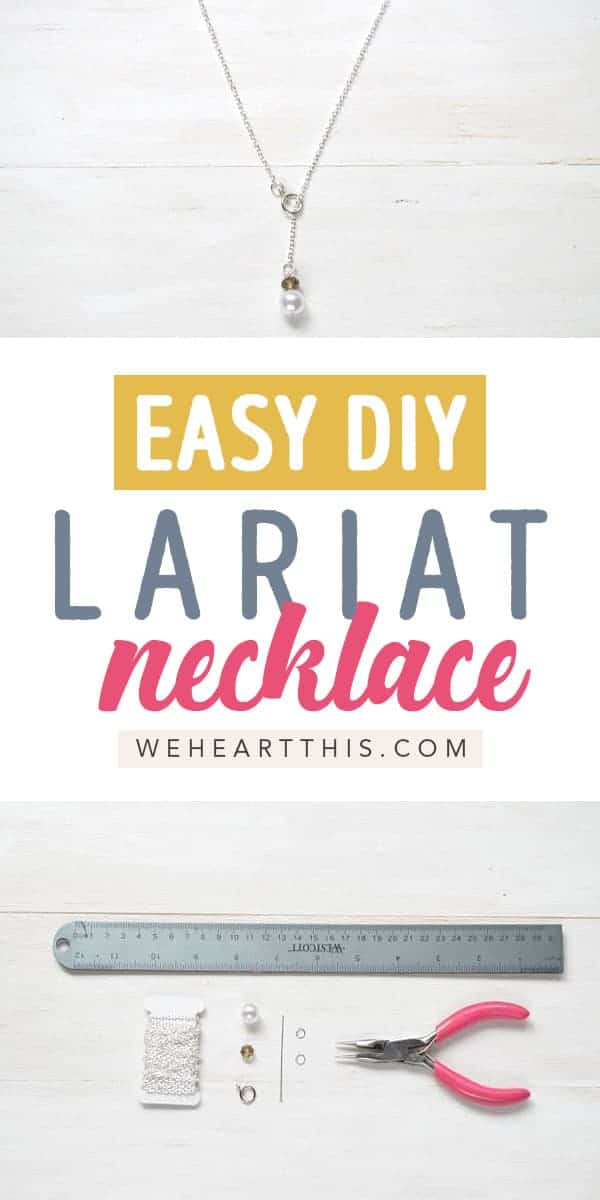
For this tutorial (just one of our Easy DIY projects) we’ll show you how to use just a few materials to make a feminine pearl drop lariat necklace.
Wear it with a basic t-shirt to spice up a casual outfit or let it shine with an LBD for a flirty date night look.
DIY Pearl Lariat Necklace
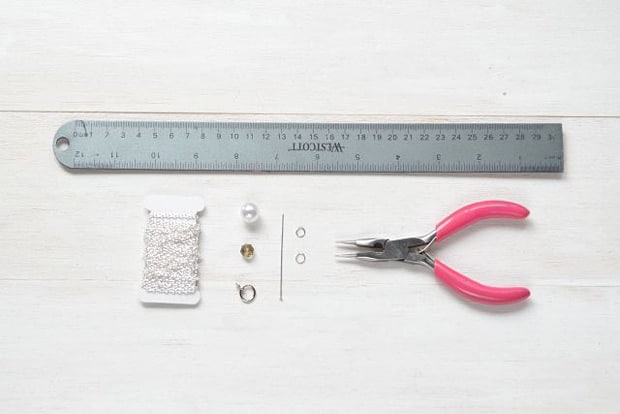
Supplies
- Ruler or measuring tape
- Chain
- Pearl bead
- Crystal or glass bead (optional)
- Toggle closure (circle piece)*
- 2-inch head pin - 8 or 10mm jump rings (2)
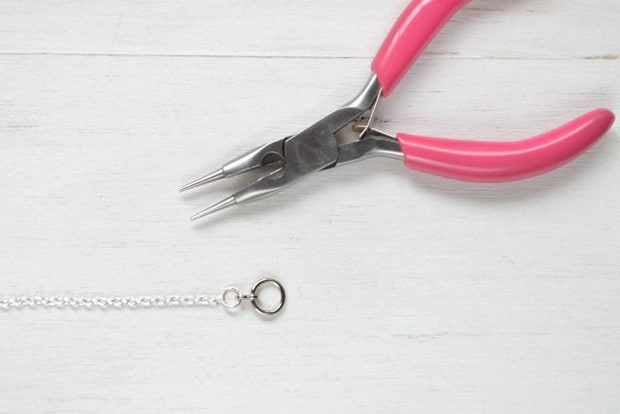
- 3-in-1 jewelry pliers
* Toggle closures are findings that are made to connect the ends of necklaces and bracelets together. A standard toggle set has two parts: a metal circle finding (used in this project) and a bar that is inserted through the circle.
The bar is long enough so that it won’t slip through the circle, keeping the necklace or bracelet in place. For this project, we’ll use the circle half in a different way than its traditional use.
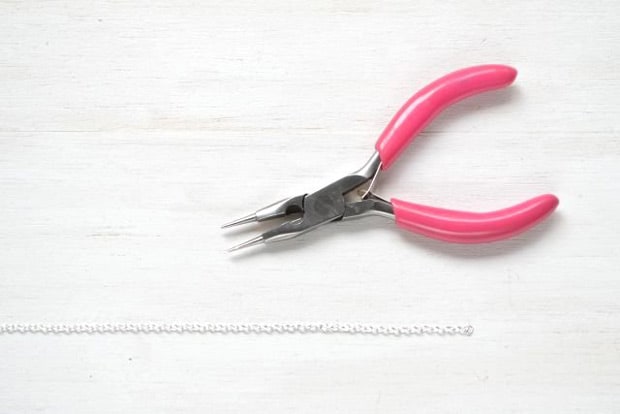
1. Cut a strand of chain long enough to slip around your neck plus a couple extra inches. For this project, we used a 30-inch long chain.
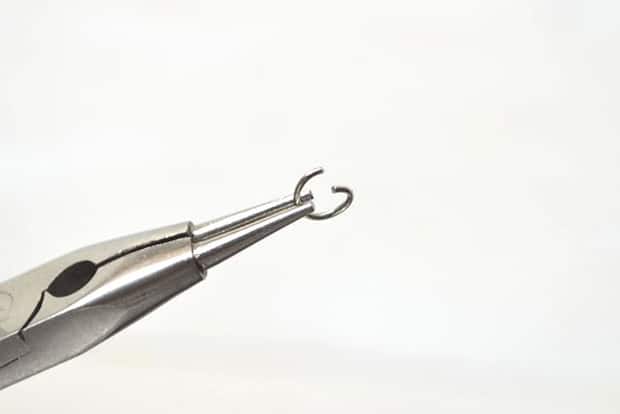
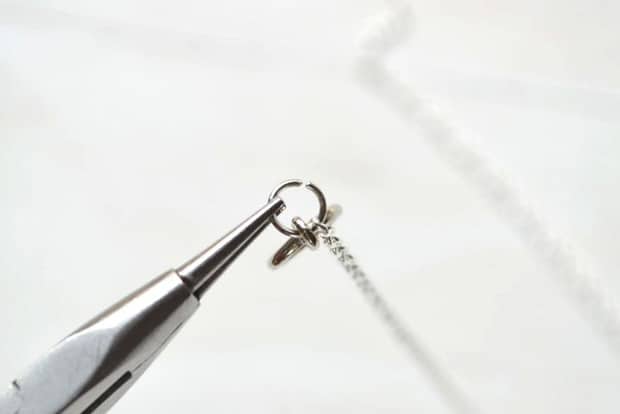
2. Using the jewelry pliers, open a jump ring by bending the ends away from each other.
3. Add the circle piece from the toggle closure to the jump ring, followed by one end of the chain.
4. Close the jump ring by bending the ends of the jump ring towards each other, using the jewelry pliers.
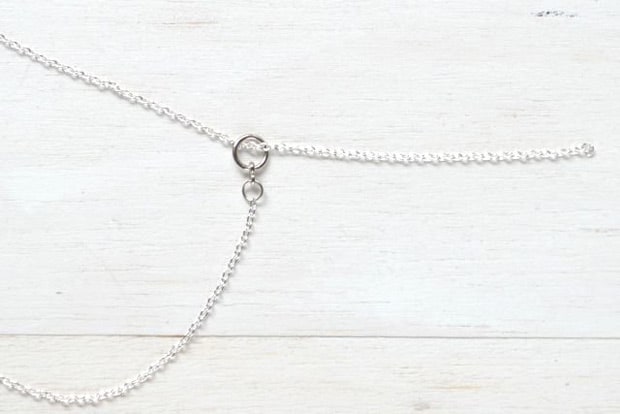
5. Insert the opposite end of the chain through the circle piece. Set aside.
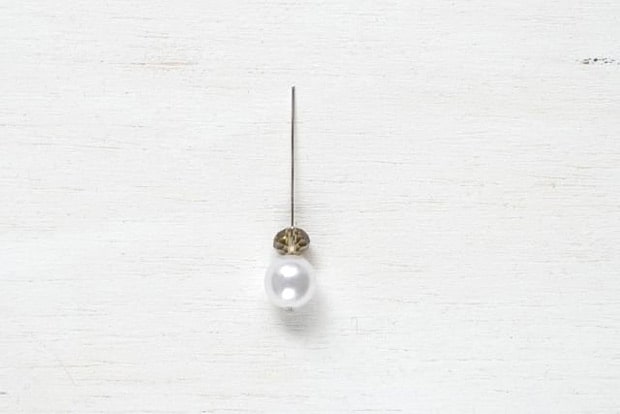
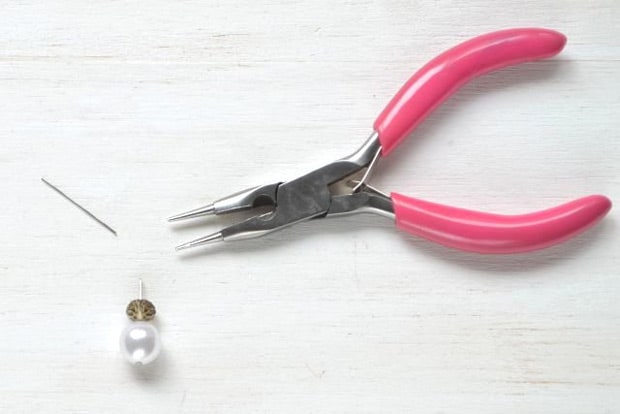
6. Add the pearl to the head pin followed by the crystal/glass bead. The second bead can bring in something a little extra to your necklace; it is optional, though!
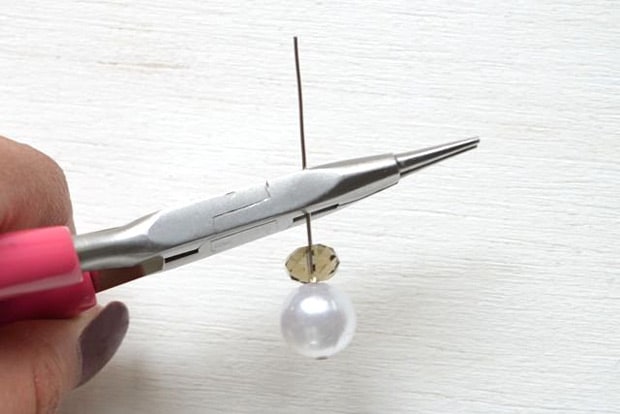
7. Place the head pin in between the cutting portion of the pliers. Make sure the pliers are positioned about ½ inch above the top most bead.
8. Cut the head pin.
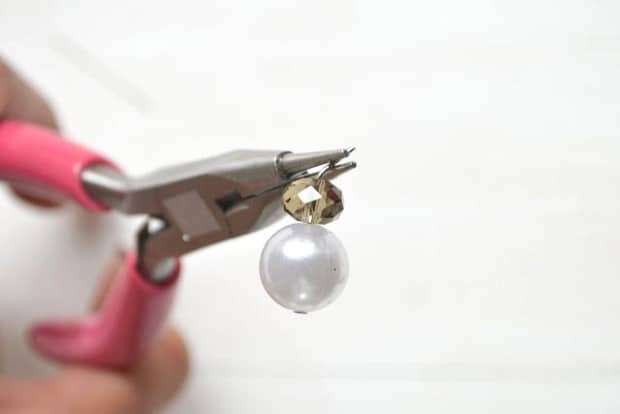
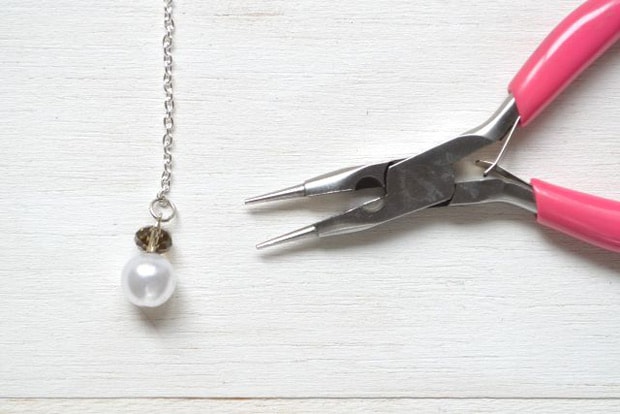
9. Bend the top of the head pin sideways.
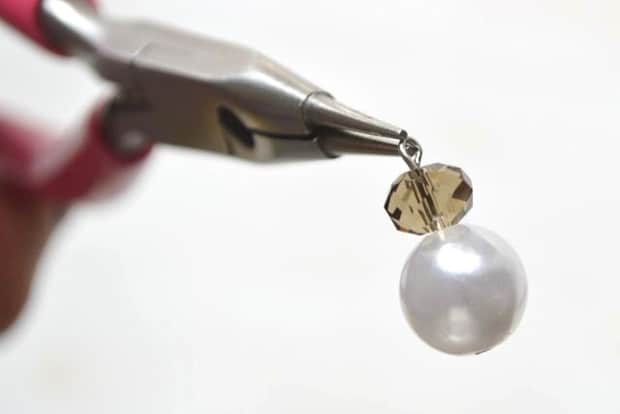
10. Bend the head pin into a loop.
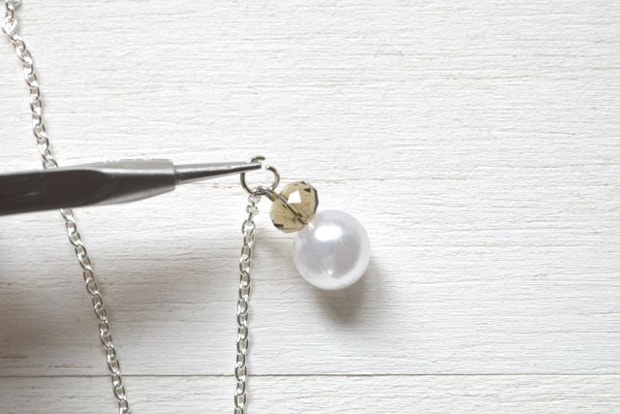
11. Using pliers and a jump ring, add the beaded head pin to the free end of the chain.
12. Close the jump ring.
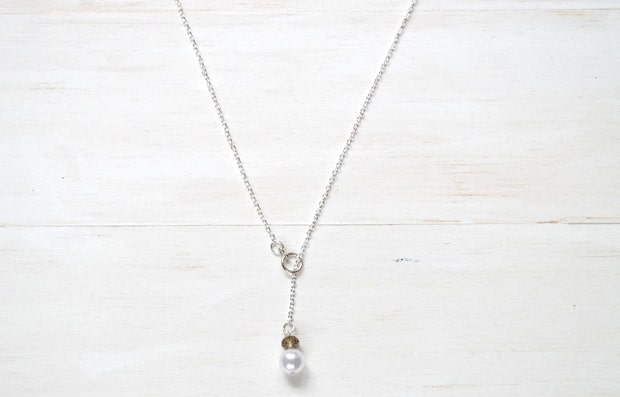
When worn, the necklace will drape naturally. Because the beads can’t fit through the circle toggle closure, your new piece won’t fall off.
How’s that for functional and fashionable?
Of course, you can use any type of beads for this project. As long as they are bigger than the circle toggle, you’re good to go.
What bead combo would you use? Let us know in the comments below!


So smart! I think this is just adorable, and so dainty! Where did you get the pink needle nose pliers? I love them.