
A Sally Hansen Nail Art Cheat with FAB results
This post may contain affiliate links, which means I may receive a small commission, at no cost to you, if you make a purchase.
Made possible by a U by Kotex deal!
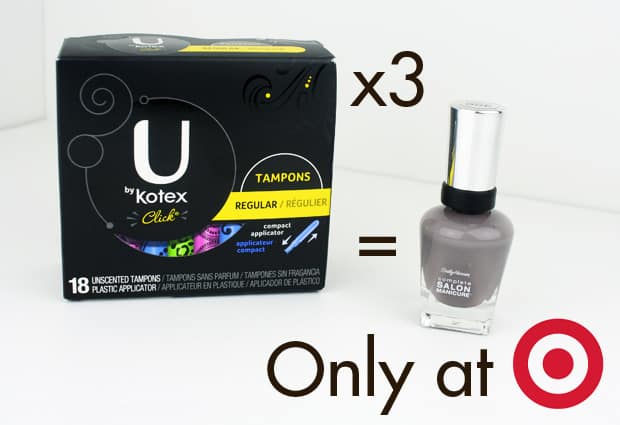
There’s a great promotion going on now until February 22 at your favorite store, Target (that IS your favorite store, right?) If you purchase three U by Kotex products, you’ll get a free Sally Hansen Complete Salon Manicure Nail Polish. If you’re anything like me, you have A LOT of one of those things, but always need more. And always run out of the other at the worst time possible. (Guess which one is which?) This promotion will take care of both of those issues, and help you to replenish those #GirlNecessities!

To celebrate I’ve got a nail art tutorial for anyone who love that modern and minimalistic look. This little nail art project will create a HUGE impact, with nice, clean lines (two of my favorite things.)

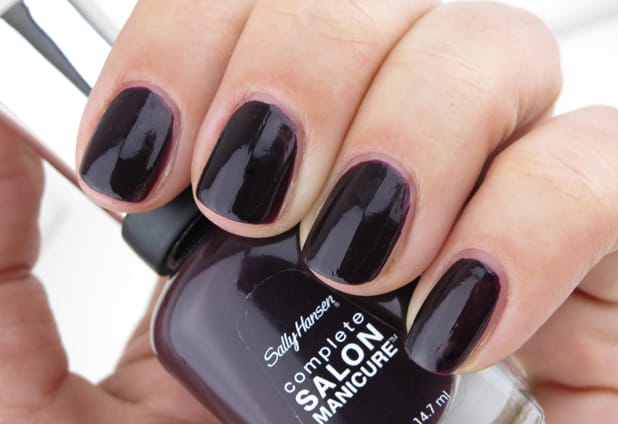
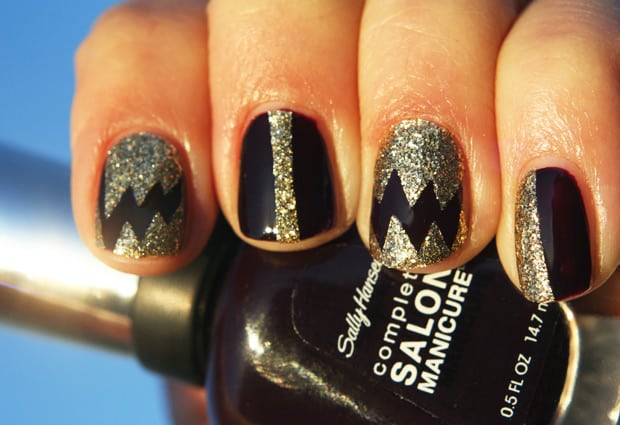
I stocked up on my three U by Kotex products (tampons, thank you very much) then went to an old favorite for my free Salon Manicure Nail Polish; Pat on the Black, a nearly black dark plum.

And have you seen Sally Hansen’s nail art selection lately? Pens, glitters, studs, pearls – it’s like a fancy nail salon right in the Target aisle!
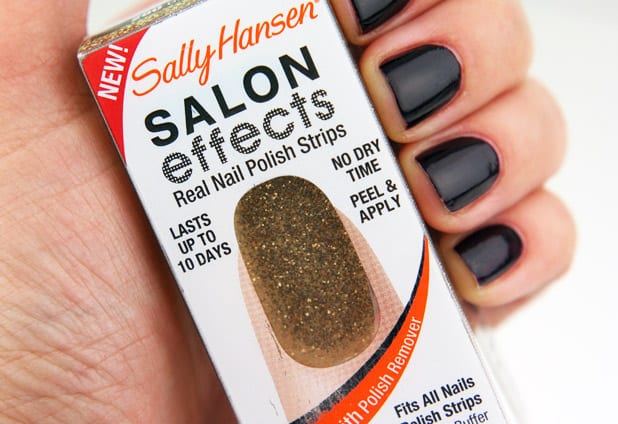
For this look, I decided to play with another old favorite; Salon Effects. Having seen a tutorial from the fine Sally Hansen folks themselves, I knew the strips would make clean, bold lines that would make my designer self very happy!

Assessing the situation, I dove right in. Here how you do it as easy as 1, 2, 3…

1. After a quick swipe of the nail using rubbing alcohol on a cotton ball (to remove any oil or dirt) find the strip that best fits the base of your nail.

2. Cut a design into it. Free form it if you got scissor skills (after 5 years of art school, I’ve got MAD scissor skills!) or carefully use an X-acto knife.

3. Carefully place the design on your nail, and top with a topcoat.
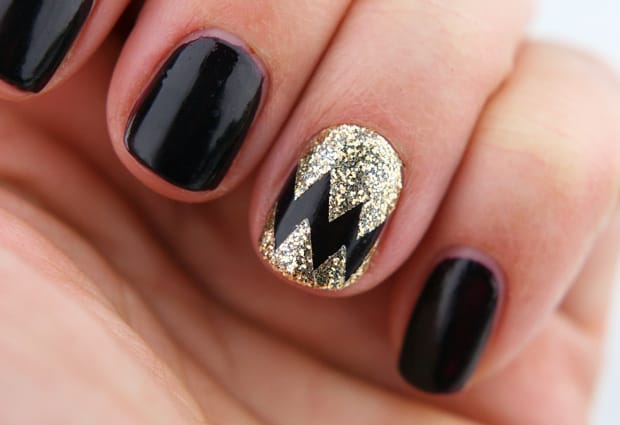
You can work with the negative shape you create too. The zig zag pattern I created kinda looks like a disco Charlie Brown superhero. I bet you were thinking just that, right?
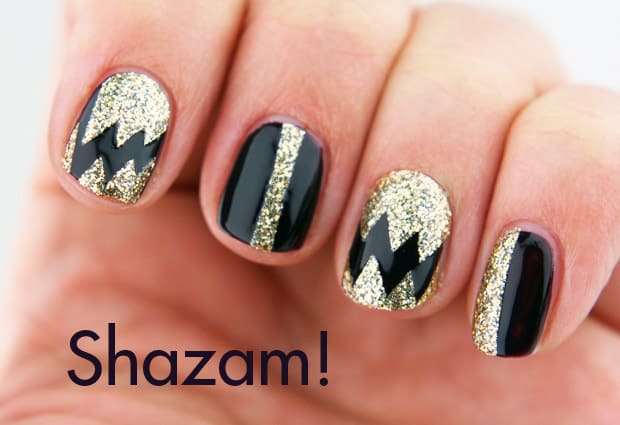
And because I’m not a symmetrical type of gal, I did something slightly different on each nail.
That’s it! Lots of bling and nice clean lines to make even the fussiest of us happy. Head to Target before February 22 to take advantage of the U by Kotex/Sally Hansen deal and see what you can create.
![]() U by Kotex strives to empower women and girls to celebrate their bodies and talk openly about periods and vaginal care. To challenge society to think differently about what it means to be a girl. To get girls the answers they need to take good care of themselves and their bodies.
U by Kotex strives to empower women and girls to celebrate their bodies and talk openly about periods and vaginal care. To challenge society to think differently about what it means to be a girl. To get girls the answers they need to take good care of themselves and their bodies.
Disclosure: Compensation was provided by U by Kotex and Sally Hansen via Glam Media. The opinions expressed herein are those of the author and are not indicative of the opinions or positions of U by Kotex and Sally Hansen.

Love it! It almost looks too easy. Thanks for the tip. I am terrible at painting on designs but this I think I can do :)
Thanks for your comment! You don’t have to wait for it to dry either – which is always a plus.
This looks fantastic–and I love the blackened plum nail polish.
Thanks Gigi – it’s a great color!
Wow, I had NO idea those were strips when I saw the preview. You’re so talented with nail art @Stef so I wouldn’t be surprised if it WAS glitter polish either! :)
I’m with you, I had no idea they were strips! @stef, do you use a top coat? These are adorable, the chevron pattern is impressive. (Woo, art school!)
Also, I saw this post in the rotating header with a pic of your nails before I clicked on the full post, so for a split second, I thought you used U by Kotex for your nail art. I was SUPER impressed that you somehow created that with panty liners or something! :-)
LOL – you may have just inspired me to indeed use panty liners for nail art!
Yes, I used a top coat. I was scared these wouldn’t last because you’re supposed to apply them to bare nails. But they have not budged and I’m on day 6.
Thanks @mandabear!
That is easier than hand painting on designs, even with stencils! SO MANY POSSIBILITIES… mixing and matching patterns…
RIGHT?!
Wow – I love this so much! First of all, Pat On The Black is one of my fave nail polish colors – dark, but not quite black and with a nice bit of shine.
But the stick on designs are so SMART! What a great trick for doing nail art for those (like me) that are not artistic. And if you do it right, you could probably get a few manis out of a single set of Salon Effects.
Also, @lyssachelle – you’re comment cracked me up! We will have to figure out a panty liner DIY project soon!
Could this possibly be as easy as you make it look, @stef ? I’m going to give it a try! Your Charlie Brown nail is the BEST. How great that I can get a free Sally Hansen Complete Salon Manicure Nail Polish (a product I truly love) just for buying something I have to buy anyway. Thanks for the tip!
Really great idea, love the colors and it looks easy to apply.
This is genius! I am going to try this in a heart beat!
Wow, I love that! Definitely going to have to try this out.
They are all fun, and the blue background with white dots/snow. I’ve had on red/green NOPI textures and gold julie texture all week
Pretty nails..
Are these patterns available online??