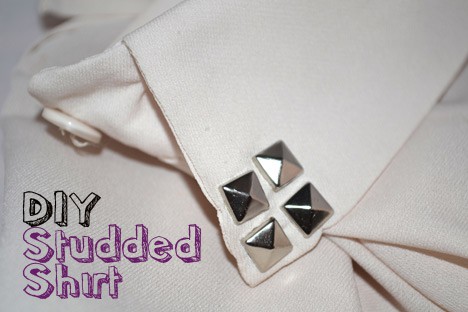
DIY Fashion: Studded Shirt Collar
This post may contain affiliate links, which means I may receive a small commission, at no cost to you, if you make a purchase.
Add the season’s hottest look to your style in just 5 minutes!
Everywhere you look right now you see studs – on clothes, nails, iPhone cases, the list goes on. So this month I decided to share a DIY fashion project centered around the season’s must have look.
This Studded Shirt Collar is a no-sew project and is so simple that you can complete it in about five minutes…and have a ‘new’ shirt to show for it! Plus the studs are easy to take out of clothes, so if you change your mind down the road you can instantly change your shirt back.
Supplies:
• Collared Shirt
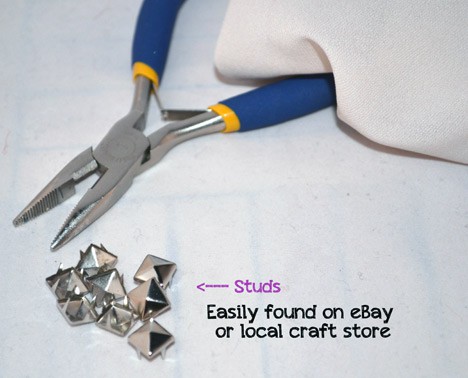
• Pair of Pliers
• Decorative Studs
1. Spend a few minutes experimenting with the studs and decide where on the shirt you want to place them (I went for the collar) and what pattern you would like.
2. Once you’ve made your decision, one by one stick the studs through the fabric.
3. Using the pliers bend the tongs of the studs back, creating a flat surface.
4. Repeat on the other side of the collar or other areas of the shirt to complete your look.
Options: Paint all or some of the studs using nail polish or any other paint for a more colorful look!
we heartsters – where are you wearing studs this season? On your shoes? Clothes? Handbags? Meet me in the comments and tell me about it, Studs!


Anyone else more than a little in love with that shirt? It looks SUPER comfy, but classy!
This is incredibly easy, I love it. It reminds me of when I was in third grade and my mom wouldn’t buy me a Bedazzler (SO mean, right?) so my best friend and I got a hold of some rhinestones and prongs and went to town on our jean jackets. We tore up our fingers trying to close those bad boys, but we were stylin’…in our own minds.
I didn’t think studs are really up my alley style-wise, but this has me rethinking that. The studs add an edge to that more feminine shirt and make it much more fun. I bet this would look great on the strap of an older handbag, it’d dress it up AND hide any imperfections from wear. Pinned, per usual! :-)
Thanks Alyssa! And that is a great idea to add some studs to an old handbag. I want to try adding some rhinestones to a jacket next, been seeing that everywhere!
Love that story @lyssachelle! Who could forget the Bedazzler!? I wonder if those things are still around?
Such an easy DIY @nellecreations – and I love the look of studs on almost any article. of clothing. Like the idea of adding some studs to one of my old jean jackets – how cute would that be?
Cute idea! I see tops like this in stores all the time and priced way too high. I used to have a Bedazzler too and I kind of want one now!