
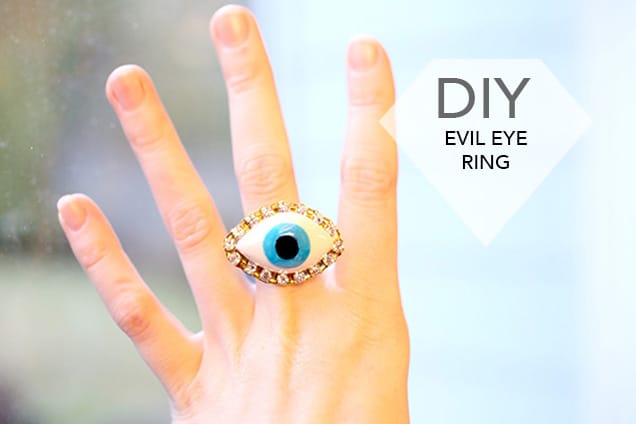
DIY Jewelry: Evil Eye Ring
This post may contain affiliate links, which means I may receive a small commission, at no cost to you, if you make a purchase.
Lately it seems Evil Eye-inspired jewelry is everywhere, beside being a popular motif it also carries significant cultural and religious meaning. The Evil Eye is affixed to anything that is perceived to attract greed, envy or ill-will to ward off these negative emotions.
 In the Middle East, the Evil Eye is called Nazar, and it appears with blue concentric circles. The Hamsa, prevalent in Jewish culture, depicts a hand with an Evil Eye in the palm. In Turkey it is pervasive and deeply symbolic in daily life, including being found on Turkish currency, hung from the necks of newborns and embedded into building foundations.
In jewelry as in popular culture, the Evil Eye is thought to ward off negativity and protect the wearer from malice. Here’s a DIY jewelry project that lets you make your own:
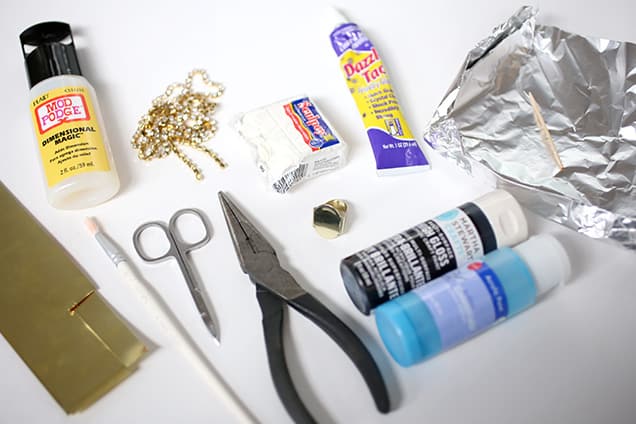
Supplies:
• White clay
• Rhinestone chain
• Ring base
• Embossing metal*
• Aqua blue paint
• Black paint
• DazzleTac Jewelry Adhesive
• Scissors
• Paintbrush
• Tin foil (and a working oven!)
• Mod Podge Dimensional Magic
• Toothpick
• Wire cutters
*Note: Embossing metal is not necessary but it helps you create a custom-shaped base that looks finished for your ring embellishments. You can use anything you have on hand as a base if you can’t find these soft metal sheets: a flat button, a pre-made bezel, or even a flattened piece of hardened clay.
Directions:
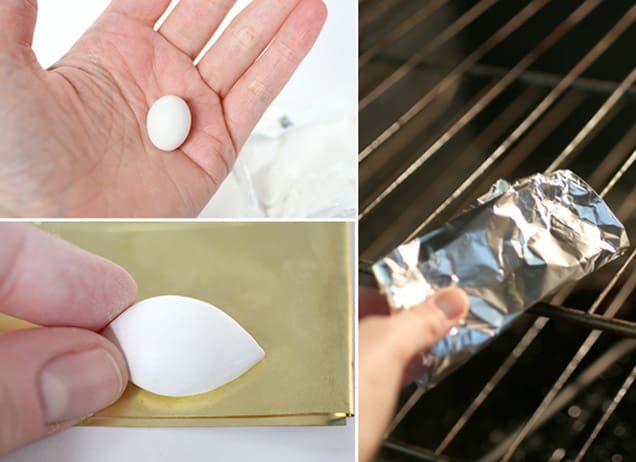
1. Form the eye part of the ring by making a ball with the white clay. Press onto a surface to flatten. Pinch both sides, smoothing as you go, rounding in the center.
2. Bake according to manufacturer’s directions in the oven, sealed in a little foil package to prevent fumes escaping.

3. Allow to cool. Use the paintbrush to paint an aqua circle in the center of the white clay, on the rounded part.
4. Paint a smaller black circle inside the aqua circle for the pupil.
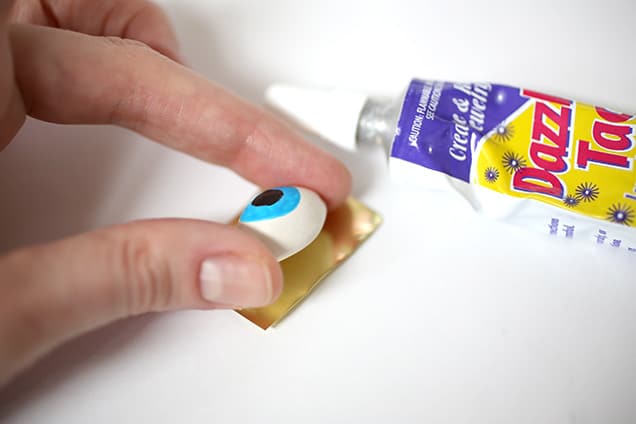
5. Once the paint is dry, use DazzleTac to glue the clay eye onto a piece of embossing metal.
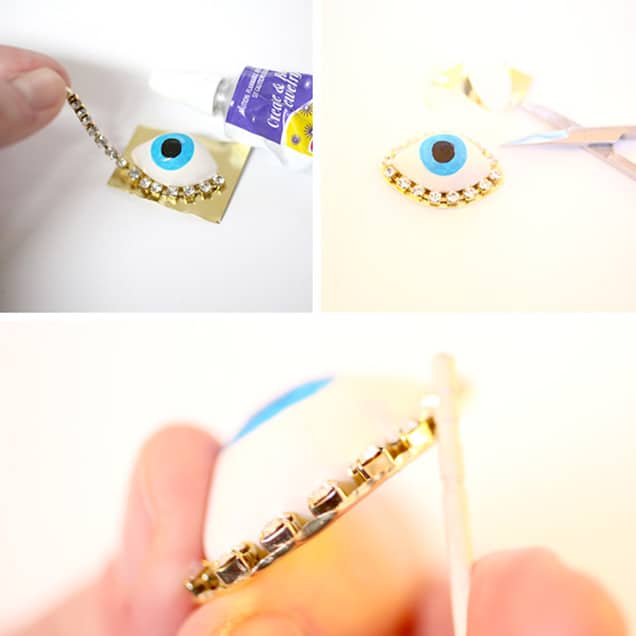
6. Cut the chain to a size that can wrap around the eye. Spread a small amount of glue around the edges of the eye and press the rhinestone chain into it.
7. Trim the embossing metal with scissors close to the rhinestone chain. Fold up around the chain to create your very own custom bezel.
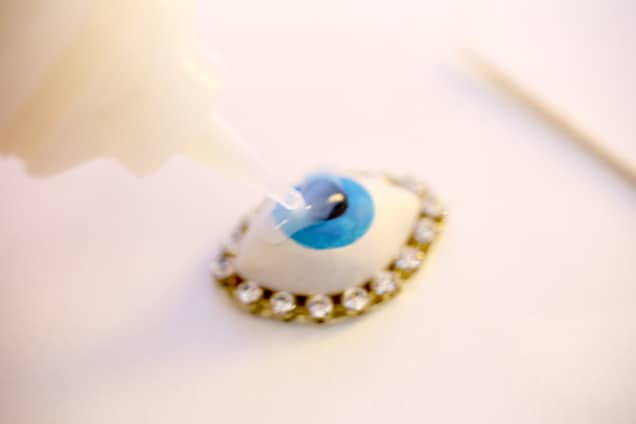
8. Spread Mod Podge Dimensional Magic (or another high-gloss acrylic sealant) on the rounded surface of the eye to create a glossy covering. Use a toothpick to pop any air bubbles, and leave to dry at least 24 hours.
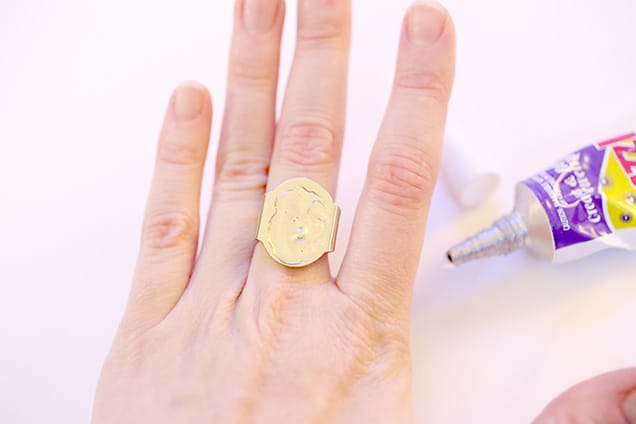
9. Glue the eye piece onto the ring base, and let dry before wearing.

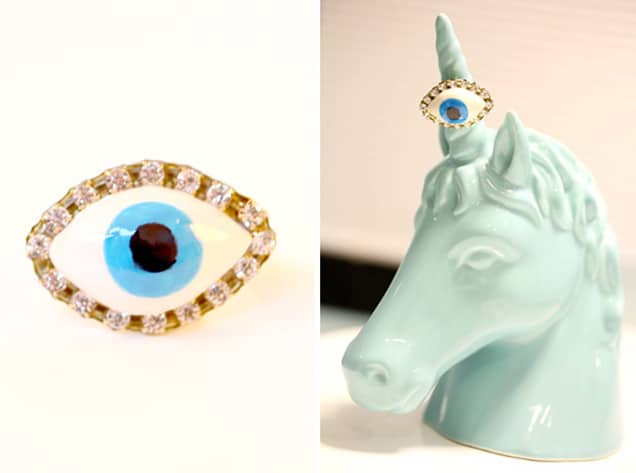
Happy DIY’ing – and be ultimately protected from any external negativity or evil!
we heartsters – Do you have any Evil Eye accessories in your jewelry box?
All photos: Carly for we heart this
I love this! I had an evil eye bracelet but I wore it so much that it broke–this ring would be an awesome replacement.
Thanks, @amity ! You could also make a little bracelet to replace the one you lost…you might have to make the evil eye clay part a little smaller for a bracelet, but it’s totally doable! Good luck!
xo
Carly
Cool DIY! I love how in-your-face it is. Also I <3 your unicorn ring holder.
Thank you, @mandabear ! You could always make it bigger or smaller, depending on how “in-your-face” you want it. :-) And my unicorn is actually a little girl’s piggy bank from Target! I found it at Goodwill and am considering spray-painting it gold or matte white, but I’m beginning to like the light blue, LOL.
xo
Carly