
DIY Jewelry: Friendship Bangle Bracelets
This post may contain affiliate links, which means I may receive a small commission, at no cost to you, if you make a purchase.
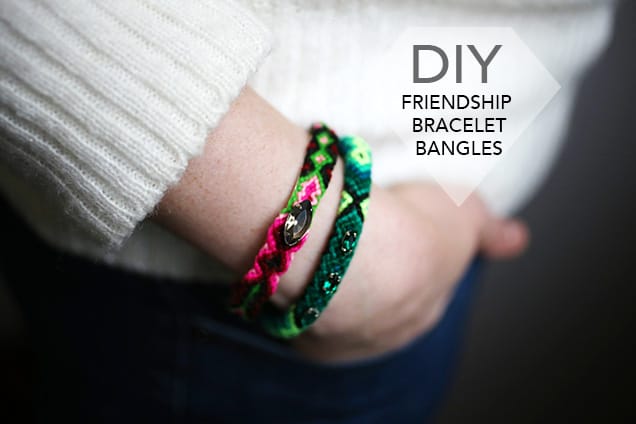
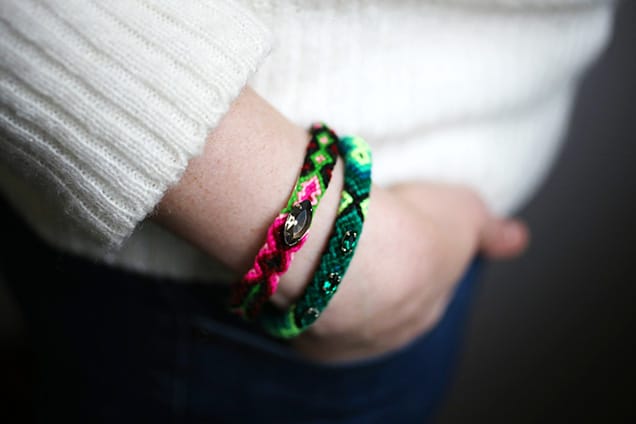
A MODERN ADULT-WORTHY UPDATE TO A CHILDHOOD CLASSIC
Have all of you fashionistas seen the lates from Mercedes Salazar? She has taken the ubiquitous friendship bracelet to the next chic level: turning it into a bangle to add to your stack of arm adornment favorites. It’s your old BFF – with a new adult twist! Inspired by this bracelet, this DIY Jewelry project adds a rhinestone (or two) to up the glam factor and some decorative bling.
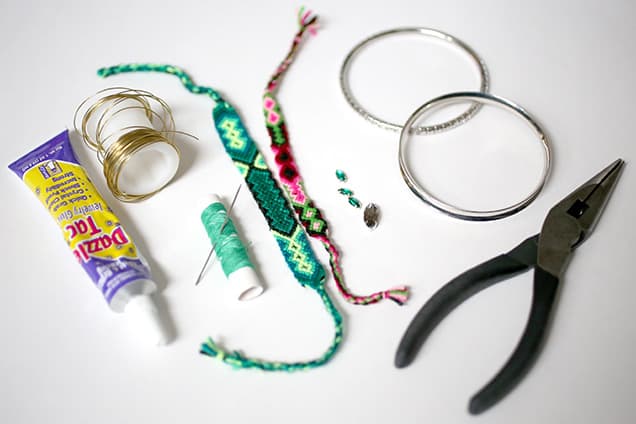
Supplies:
• Thin metal bangle
• Friendship bracelet (one that is wide enough to go around your bangle)
• Dazzle-Tac jewelry glue (or craft glue with good adhesion to metal)
• Dead-soft jewelry wire
• Wire-cutting pliers
• Sscissors
• Hand-sewing needle and thread
• Rhinestone(s) in setting
Directions:
1. If you’re making your bracelet from scratch, you can always use a resource like Friendship-Bracelets.net to create a pattern. If you are purchasing your bracelets, you can find them online in bulk from sources like Oriental Trading, Etsy, and Ebay. I used some bracelets I had on hand, just making sure that they were wide enough to wrap around my bangle.
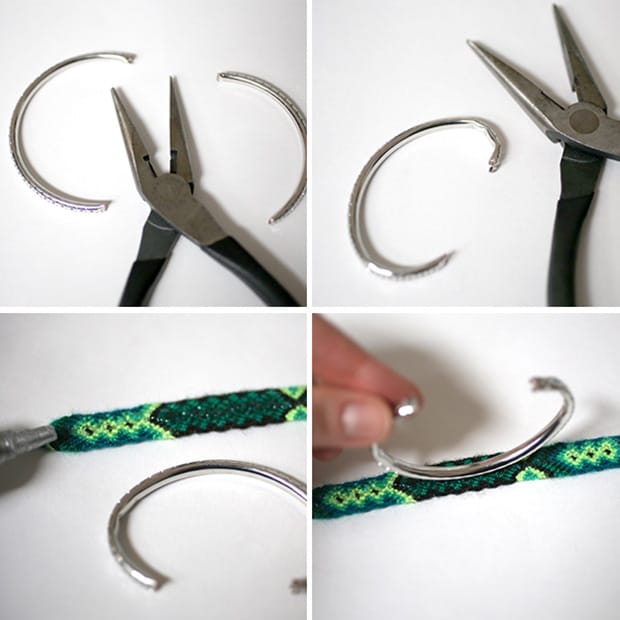
2. If you can’t find bangles that are open, you may have to cut the round bangle bracelets that you buy. Wire cutters usually will work, if you twist the metal back and forth to soften it at the cut. Then use force to curve both ends inwards so they won’t fall off your wrist.
3. Spread a thin line of glue down the center of the bangle.

4. Glue the friendship bracelet to the center of the bangle, holding for a few minutes until the glue has set.
5. With a needle and matching thread, sew both sides of the friendship bracelet together at the underside of the bangle.

Tip: Ideally your friendship bracelet would be wide enough so the ends touch; mine wasn’t, so the sewing is slightly visible.

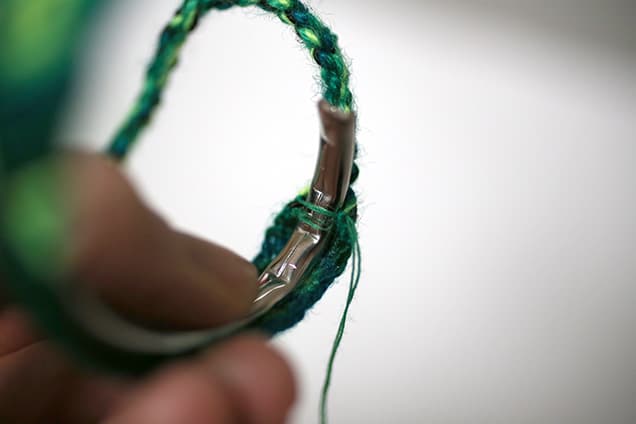
6. Use scissors to cut the thread ends of the bracelet short enough to wrap around the ends of the metal bangle.
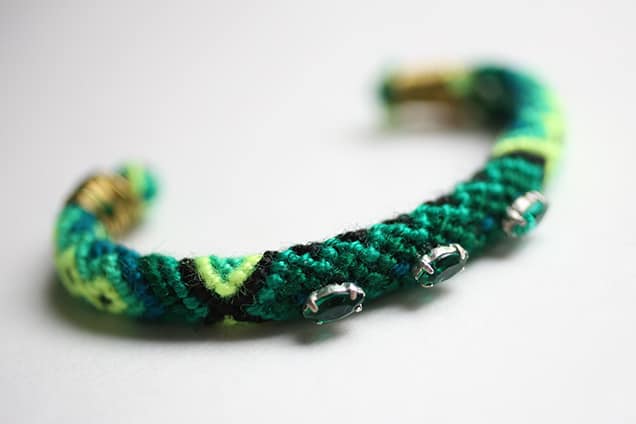
7. Wrap the threads around the metal firmly, covering any rough edges. Use jewelry wire to wrap around the threads, looping repeatedly and firmly.
8. Snip the end of the wire and weave it into the friendship bracelet so it won’t stick out and poke you.
9. Repeat for the other side of the bangle.
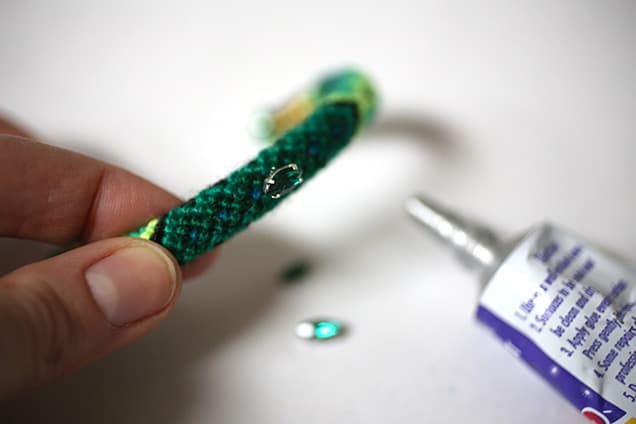
10. Use jewelry glue to attach rhinestones to the middle of the bangle, and allow to dry.
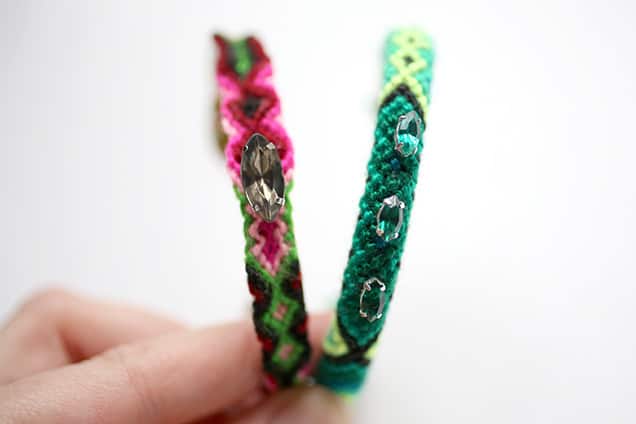
And that’s it! Pretty simple – and a much-needed update on the friendship bracelet!

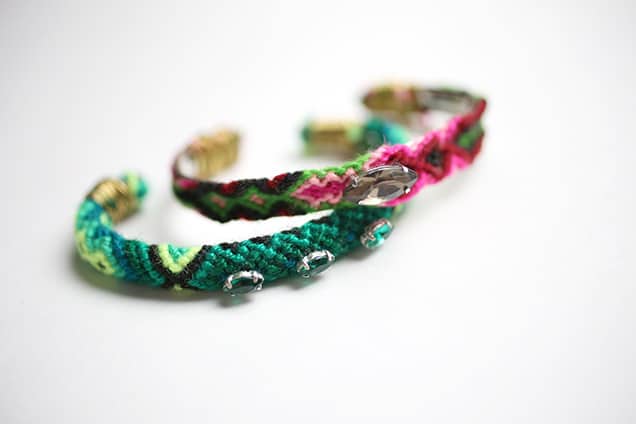
A grouping of these would also be an awesome holiday gift for a fashion-forward person in your life. If you make your own version of this DIY Jewelry project, I’d love to see!
Happy Holidays and Happy DIY’ing!
we heartsters – Are you a fan of friendship bracelets? What do you think of this update?
I lovelovelove this. I think Friendship bracelets are great but (due to my tiny wrists) cuff bracelets are my favorite style to wear. So this is like a match made in arm party heaven. Amazing DIY @carlyjcais!
Thanks @mandabear! I have super-tiny wrists too…so I have to cut my bangles in half and curl them into my wrist or else the open circles won’t stay on. At first I didn’t think it would work but found that the wire-cutters cut through thin base metal quite easily – and then covered with the friendship bracelet, you’d never know they were cut up! So glad you like :-)
@mandabear! These are super cute! I wish I liked sewing more, my problem is that I have fingers that are like big sausages and not the best with small and tedious movements! You are so creative and I do love this! My nieces would love this so I’m sharing it with them!
Thanks, @Irene! If you aren’t able to sew the bracelets close, you could just glue them down and secure with clothespins to dry. You don’t necessarily have to sew them, I just did since it stretches the fibers taut onto the bangle. But you can stretch and glue them instead! Hope your nieces like :-)
If you find the issue is with the needle @Irene, you can always use a bigger needle with a bigger eye too. My mom has a tendency to do that when we did projects as she has “fat fingers” as she called them. She used upholstery needles which tend to be thicker and the eyes are bigger.
Thanks for the tips Kate & Zena! I know I could do this with a bigger needle with a bigger eye! Appreciate it! That would make a difference for sure and
carlyjcais, Glue would work too.. good point! I know my nieces would love this because its just too cute !
I never thought friendship bracelets could be sophisticated, but you proved me very wrong, @carlyjcais ! These are absolutely lovely. I’d love an armful!
I am way excited over these because I love friendship bracelets and those Nantucket rope bracelets but I CANNOT weave/braid to save my life; I didn’t even know that you could get them like this and just put them on a cuff. And with the rhinestone embellishments? Mind blown over here.
Thanks for the tips Kate & Zane! I know I could do this with a bigger needle with a bigger eye! Appreciate it!